


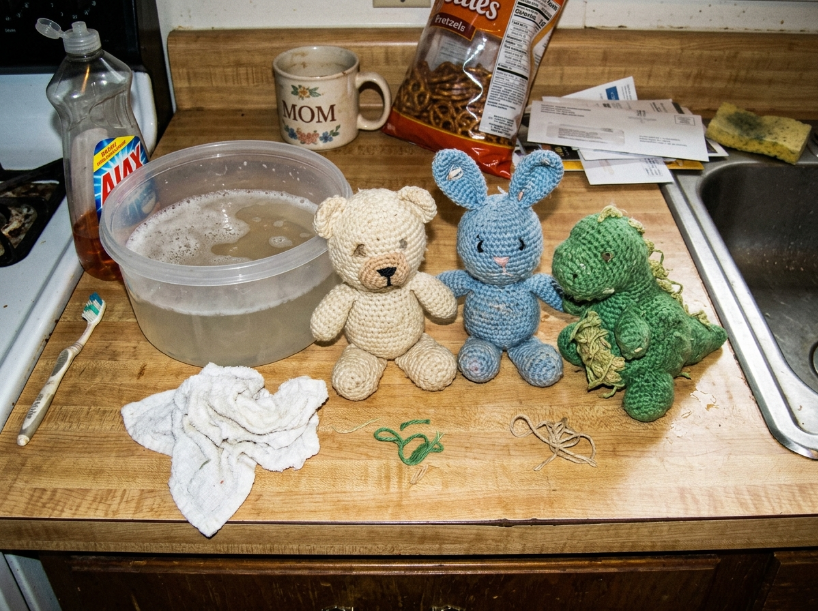
A vintage crochet toy that spent decades in storage often emerges with compressed stuffing, flattened features, and a layer of dust embedded deep within the stitches. The yarn structure itself usually survives, but the three-dimensional shape collapses under years of pressure.
The Short Answer
Vintage crochet toys can be restored through gentle hand-washing in cool water with a mild, residue-free detergent, followed by damp hand-sculpting and supported air-drying. Acrylic toys handle immersion well and can be reshaped while damp, while wool pieces require strictly cool water and zero agitation to avoid felting. For 3D stuffed toys, reshaping is done by hand-molding the body and supporting it upright rather than pinning it flat; flat pin-blocking is reserved for 2D attachments like ears, wings, or clothing.
Step-by-Step Restoration Process
Most general cleaning guides recommend a quick 10-minute soak in soapy water, but vintage toys stored in attics or basements for 20 to 30 years benefit from a longer 20-to-30-minute soak in cool water. Dust, body oils, and storage grime settle deep into yarn plies over time; a patient soak loosens particles without requiring aggressive rubbing that can fray old fibers or pull stitches out of shape.
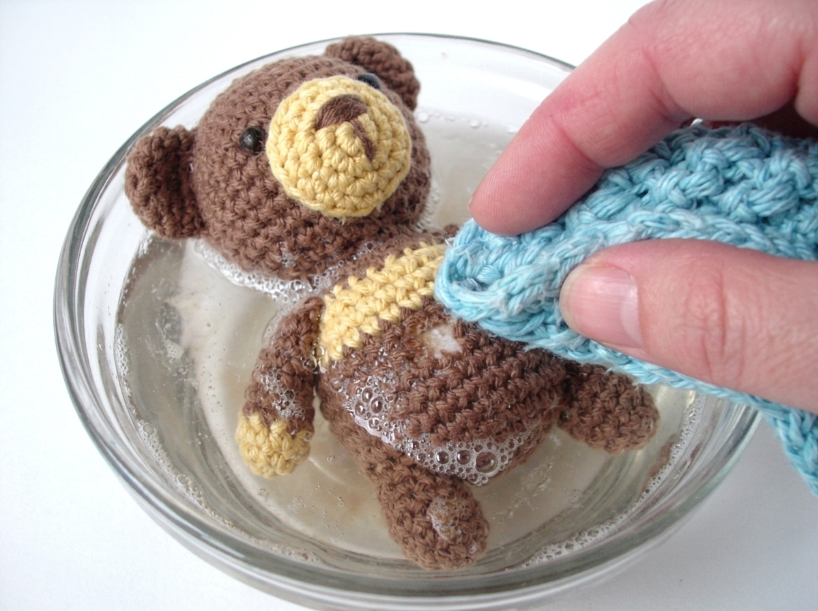
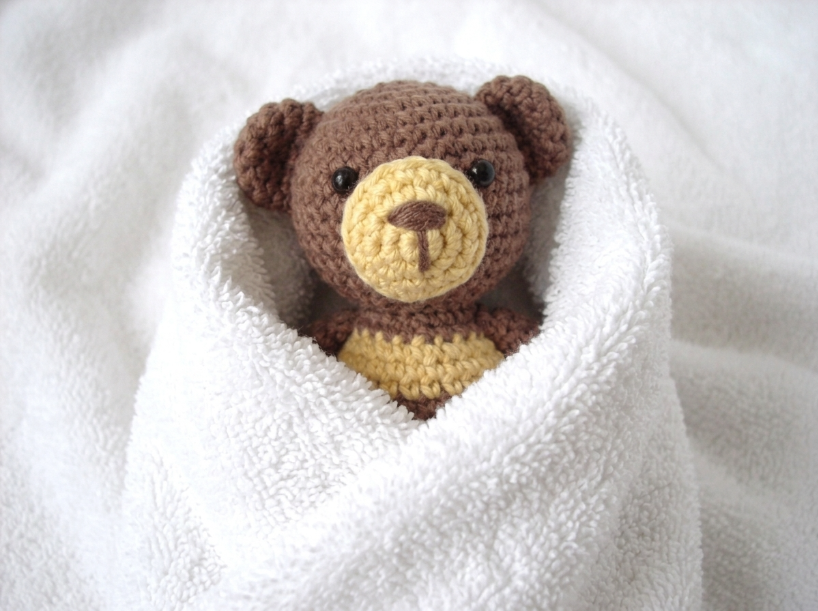
After washing, squeeze the toy gently with your hands to remove excess water without wringing or twisting. Wringing stretches delicate stitches and displaces the internal stuffing, creating irregular lumps that are difficult to smooth out later. Roll the toy inside a clean, dry towel and press firmly down along the entire length to absorb as much moisture as possible.
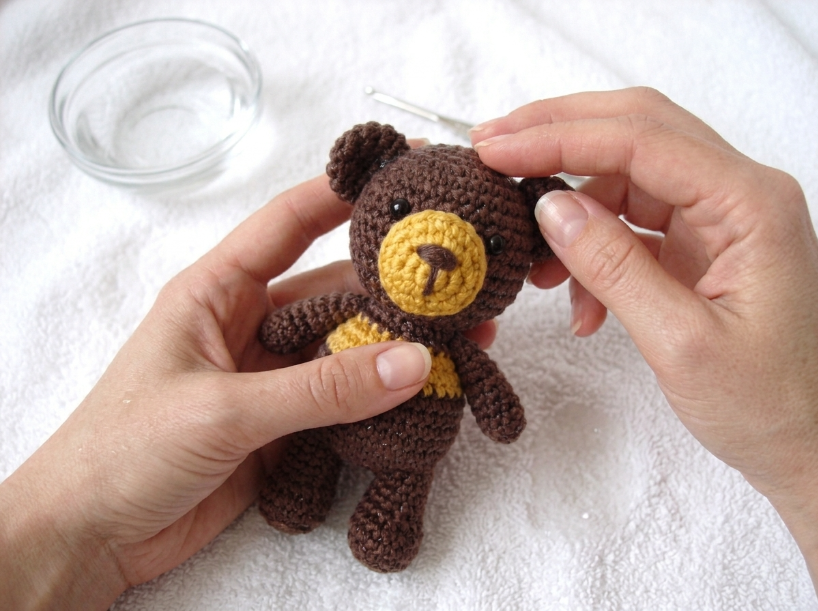
Reshaping a three-dimensional toy differs from blocking a flat blanket. Hand-mold the damp body and head back into their round, symmetrical proportions, smoothing the stitches over the internal stuffing. If the toy has flat elements—such as animal ears, wings, or decorative collars—use rust-proof T-pins on a blocking board to set those specific flat parts while letting the 3D body rest naturally. For complete guidance on setup and drying times, The 48-Hour Restoration: Deep Clean & Reshape Vintage Crochet Toys covers delicate handling protocols in detail.
| Step | Action | Critical Watch-Out |
|---|---|---|
| 1. Cool Water Soak | Submerge in cool water with mild, no-rinse or gentle wool wash for 20–30 min | Hot water shrinks wool and can soften vintage craft adhesives |
| 2. Thorough Cool Rinse | Rinse under gentle, cool water until completely soap-free | Detergent residue stiffens dried yarn and attracts dust |
| 3. Towel Press | Squeeze gently, roll inside a thick towel, and press firmly | Wringing or twisting pulls stitches out of alignment |
| 4. 3D Hand-Sculpting | Mold round parts by hand; pin flat 2D attachments (ears/wings) to a mat | Do not pin round stuffed bodies flat; support them in 3D |
| 5. Supported Air-Drying | Dry in a well-ventilated area in front of a circulating fan for 24–48 hours | Slow drying in stagnant air risks internal mold or musty odors |
Comparing Fiber Behavior: Acrylic vs. Wool vs. Cotton
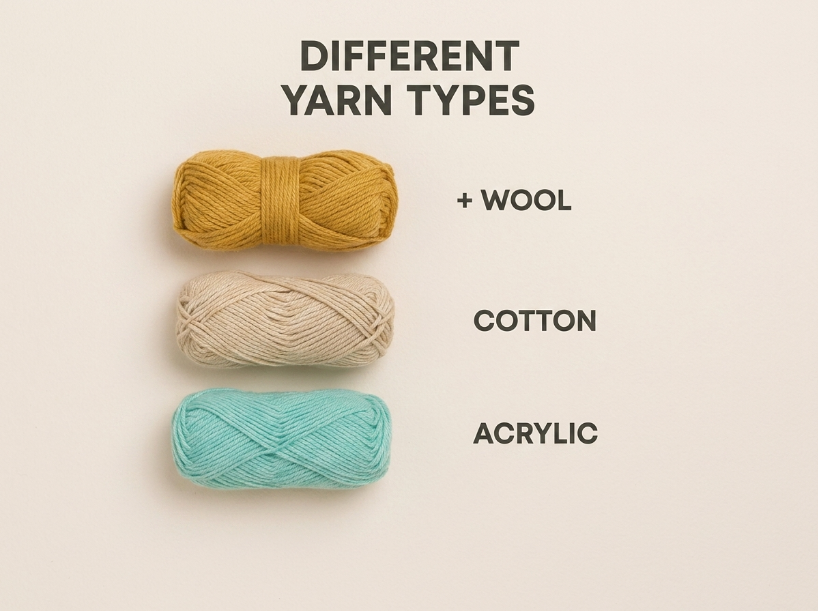
Acrylic Toys: Acrylic is a synthetic polymer fiber that does not felt or shrink in water, making it resilient during wet cleaning. However, acrylic is heat-sensitive. High heat from hair dryers or clothes dryers can “kill” acrylic by melting the synthetic polymers, causing the toy to lose all elasticity and structure permanently. Cool water washing followed by hand-sculpting and room-temperature air drying preserves the fiber’s integrity.
Wool Toys: Wool fibers feature microscopic scales that lock together when exposed to heat, moisture, and friction. A vintage wool toy must be washed in cool water with minimal movement and no scrubbing. Wool fibers relax naturally in cool water and regain loft as they dry, making wool toys particularly responsive to damp reshaping as long as agitation is avoided.
Cotton Toys: Cotton handles cool-water immersion well, but cotton fibers lack synthetic elasticity and do not naturally spring back on their own. Damp shaping smooths surface stitch definition, but if an old cotton-stuffed toy feels deflated, the internal stuffing has likely compacted permanently and may require replacement rather than surface reshaping alone. Amigurumi Durability Test: Why Crochet Toys Sag & How to Fix It details how to open discreet seams to add fresh fiberfill.
Common Restoration Mistakes to Avoid
| Mistake | Why It Happens | Correct Procedure |
|---|---|---|
| Using hot water | Belief that heat cleans older grime faster | Use cool water; extend soak time to 30 minutes to dissolve grime safely |
| Wringing the toy | Attempting to force water out quickly | Press between clean towels to draw water out without twisting stitches |
| Pinning round bodies flat | Treating 3D stuffed toys like flat granny squares | Hand-sculpt 3D bodies; use pins only for flat ears, wings, or clothing |
| Insufficient drying airflow | Relying on stagnant room air | Place near an oscillating fan; waterlogged stuffing needs active air movement |
| Using high-heat drying | Trying to speed up the 24–48 hour drying cycle | Avoid hair dryers or radiators; heat permanently distorts synthetic yarns |
Troubleshooting Common Vintage Toy Issues
Lumpy or Displaced Stuffing: If the toy feels uneven after washing, the internal filling shifted during handling. For minor lumps, massage the body firmly between your palms while damp to distribute the fiberfill. If the filling has degraded into brittle powder (common with vintage foam rubber), open a small opening along an existing bottom seam, remove the crumbling material, insert fresh polyester fiberfill, and close the seam using a neat ladder (mattress) stitch.
Color Bleeding: If vintage dye begins to run during soaking, remove the toy immediately and flush it with cold running water to carry away loose surface pigments before they settle into adjacent lighter stitches. Using a commercial dye-trapping sheet (Color Catcher) in the wash basin absorbs suspended dye particles. Dry the toy with contrasting colored sections separated by clean dry cloths to prevent color transfer.
Limbs Refusing to Hold Shape: If an arm or leg droops even after damp shaping, the original crochet tension was too loose or the internal stuffing has compacted. Inserting a small craft wire armature wrapped in fiberfill through a discreet seam provides structural support that washing alone cannot restore.
Frequently Asked Questions
Q: What is the easiest way to restore a vintage crochet toy for a beginner?
Start with an un-jointed acrylic piece. Soak it in cool water with a few drops of mild wool wash for 20 minutes, rinse gently, press out moisture in a towel, sculpt the shape with your hands, and place it on a clean surface in front of a fan. Acrylic is forgiving and will not shrink if handled gently.
Q: How long does the restoration process take from start to finish?
The active washing and shaping takes approximately 30 to 45 minutes. Complete air-drying requires 24 to 48 hours depending on the toy’s thickness and internal stuffing density. Maintaining continuous airflow from a fan significantly reduces drying time and prevents mildew.
Q: Should I use steam to reshape an acrylic vintage toy?
Direct steam is risky on vintage toys. While light hovering steam can relax modern acrylic garments, excessive heat permanently melts acrylic fibers and damages vintage plastic safety eyes or glued felt features. Cool-water damp shaping is the safest method.
Q: Does adding vinegar to the rinse water stop vintage colors from bleeding?
Vinegar is a common household suggestion, but it does not chemically fix commercial synthetic dyes in cold water. The most effective protection against color transfer is washing in strictly cold water, avoiding prolonged soaking for multi-colored pieces, and using a commercial color-absorbing sheet in the basin.
📅 Last reviewed: August 2026 · This article is reviewed every 12 months.

