


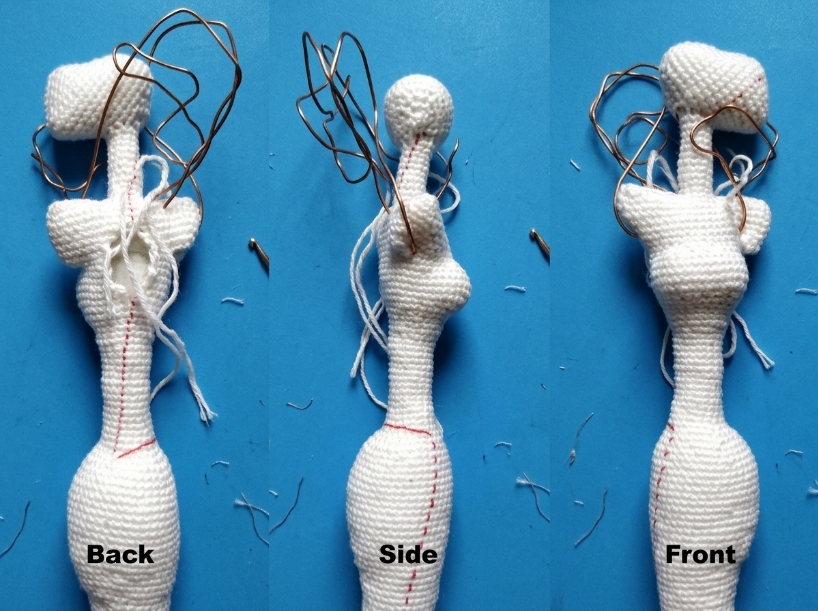
One factor that can make an amigurumi look more defined and polished is how clearly its body sections, limbs, and facial features are visually separated. Negative space is one of several design tools that can help define the silhouette and separate different parts of an amigurumi, preventing the piece from reading as a single mass of fabric.
The Short Answer
Negative space in amigurumi refers to intentional gaps and spacing that visually separate limbs from the body, define facial features, and create transitions between body sections. Strategic decreases, deliberate spacing between attachments, and controlled understuffing create these separations. The effect depends on the pattern’s shaping, yarn characteristics, and stuffing firmness.
How to Spot the Problem
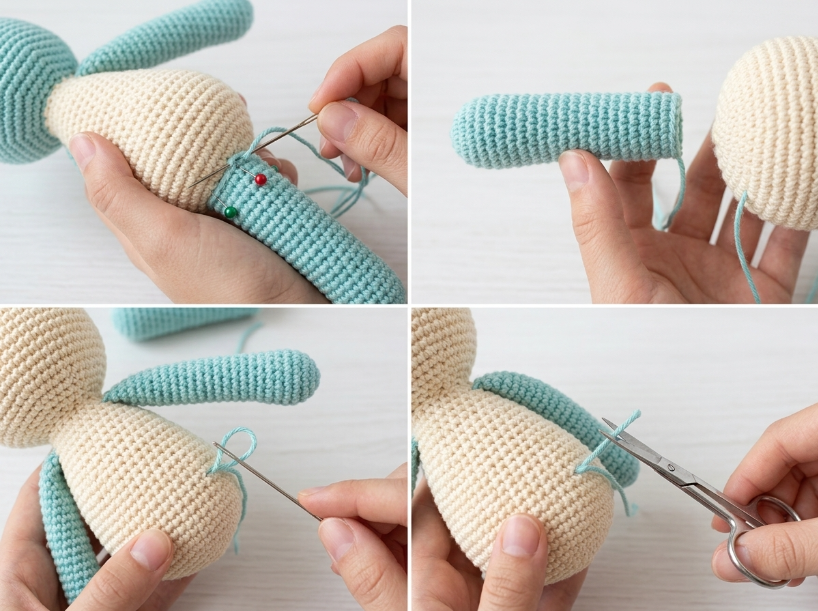
Many amigurumi patterns attach limbs directly to the body by sewing through stitches on both pieces, and that works well when a simple, integrated silhouette is the goal. That advice assumes the visual separation will come naturally from the stuffing pushing outward. In practice, tight stuffing often eliminates the gap entirely, and the arm looks like it grew directly out of the torso rather than being attached to it.
Leaving deliberate space between limb attachment points can create more visual separation between the limbs and torso. The exact placement depends on the body circumference, limb size, and intended proportions, but the principle holds: leaving space between attachments creates clearer definition.
Strategic decreases can create inward indentations that visually separate one body section from another. A neck can be emphasized by reducing the circumference between the head and body, often through one or more decrease rounds. The resulting change in diameter can create an indentation that visually separates the two sections. The same principle applies to feet, where decreases at the ankle create a joint line.
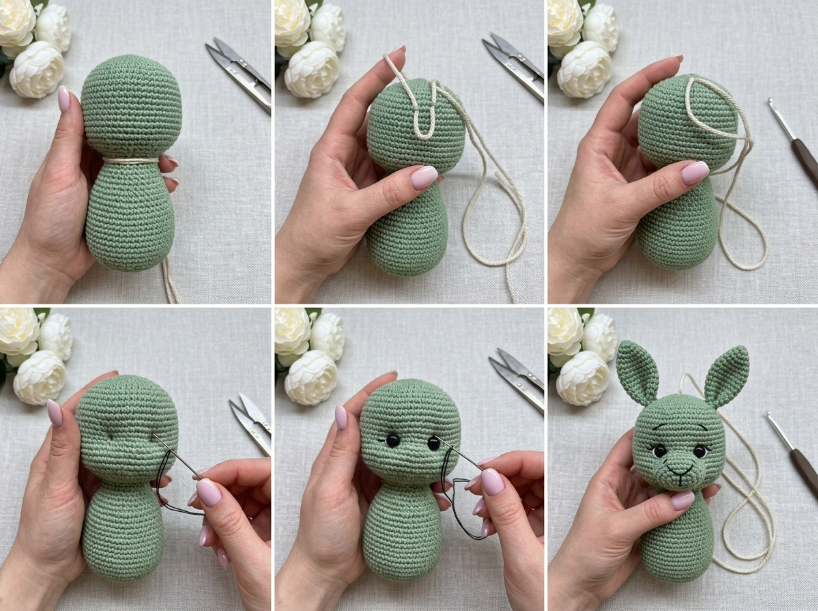
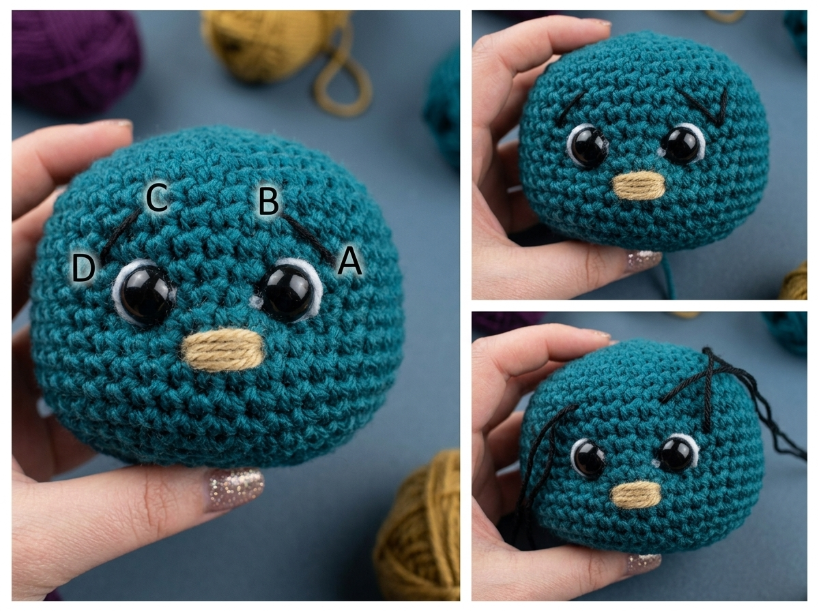
Spacing facial features appropriately gives the surrounding fabric more visual breathing room and can make individual features easier to distinguish. Physical depth depends more on how the features are attached and how the head is stuffed than on spacing alone.
| Symptom | Likely cause | Fix |
|---|---|---|
| Limbs merge into body | Attachments too close together, no spacing gaps. | Leave space between limb attachment points. |
| Neck doesn’t show | Overstuffing flattens decrease indentation. | Reduce stuffing density at joint areas. |
| Face looks flat | Features too close, no surrounding space. | Space features wider, and test-fit before securing. |
Root Causes
Invisible decreases are commonly used for smooth amigurumi surfaces because they can minimize visible holes and keep the fabric relatively even. That’s the right choice when you want a seamless body with no texture breaks. In contrast, standard decreases create a slight indentation that can serve as intentional negative space, defining a joint or transition point without needing extra shaping rounds.
BLO (back loop only) stitches can create a raised textural ridge that visually separates one section from another. In designs where BLO is used at a section boundary, the resulting ridge can create a visible line that helps distinguish one section from another. The ridge is subtle but effective, especially when the rest of the piece is worked in both loops. This doesn’t apply if your design relies on a completely smooth surface, in which case the ridge becomes a distraction rather than a feature.
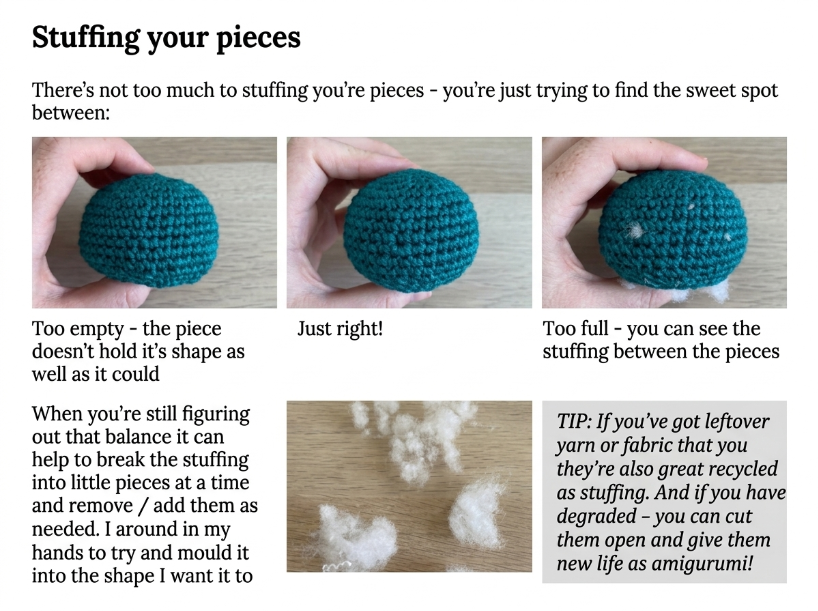
Stuffing technique directly affects how well negative space reads in the finished piece. Understuffing indentations and joint areas enhances the definition created by decreases, while overstuffing pushes the fabric outward and can eliminate the gaps you worked to create. Stuffing firmness and distribution can strongly affect how visible these indentations remain in the finished piece.
Common Mistakes
Attaching limbs too close together is one common mistake that can reduce visual separation. The reasoning is usually that tighter spacing looks more secure, but it creates a toy where the arms or legs appear to merge into the body. Leaving more visual space between attachments can feel counterintuitive at first, but it can make the body structure look more clearly defined. That said, spacing limbs too far apart makes the toy look stretched or anatomically incorrect, so the gap needs to be tested against the body’s proportions.
Overstuffing can eliminate intentional indentations and gaps you created during construction. The fabric stretches outward, the decreases flatten, and the negative space disappears. The fix is to stuff more loosely in areas where you want definition to show. In practice, this means stuffing the main body firmly but leaving joint areas and necks slightly softer. The catch is that understuffing the entire piece makes it floppy and shapeless, so you need to vary stuffing density by section.
Positioning facial features without planning the surrounding negative space can create a flat, featureless face. Eyes placed too close together or facial features clustered tightly together can reduce the visual space around each feature, making the face look less separated. The solution is to test-fit the feature placement with pins on the head before attaching anything. Even so, some face shapes work better with features clustered closer together, so this isn’t a universal rule.
Troubleshooting
Limbs that look like they grew out of the body rather than being attached to it usually mean the attachment stitches are too tight or there’s no space between the limb and the adjacent body stitches. The fix is to reattach the limb with a small gap of space on either side. In contrast, if the gap is too wide, the limb looks disconnected, so you need to find the balance point for your specific project.
Necks that don’t show definition despite decreasing between the head and body often result from overstuffing pushing the fabric outward. Reducing stuffing density at the neck allows the decreases to pull inward and form the indentation you intended. That said, if the decrease round wasn’t sharp enough, no amount of stuffing adjustment will fix it. You may need to add an additional decrease round or work the existing decreases more tightly.
Facial features that look flat even with proper spacing usually lack depth because the surrounding fabric is too tight or the features are sewn flush against the surface. Adding a small amount of stuffing behind embroidered features or positioning safety eyes slightly deeper into the head creates shadow and depth. In practice, this only works if the head is already firmly stuffed, since a soft head won’t hold the feature in place.
Choosing the Right Method
Choosing where to place negative space depends on the body structure and the level of realism you want. For a simplified toy, spacing limbs and adding a neck indentation is usually enough. For a more detailed figure, adding definition at ankles, wrists, and between fingers or toes creates additional separation points that make the anatomy read more clearly. The tradeoff is that each additional joint or indentation requires more planning and often more rounds of shaping.
Yarn fiber and construction can affect how much a finished piece stretches and recovers after stuffing and handling. Rather than assuming one fiber will always hold negative space better, test your chosen yarn with a small sample and adjust stuffing and shaping accordingly.
Questions You Might Still Have
Q: What is the easiest way to create negative space in amigurumi for a beginner?
Start by spacing limb attachments slightly wider apart than feels natural. Add one sharp decrease round between the head and body to create a neck. These two changes can noticeably improve the definition of the finished toy, and they don’t require advanced shaping skills.
Q: What hook size and yarn weight do I need for negative space to show clearly?
A relatively small hook can help produce the dense fabric commonly used for amigurumi, which can help shaped indentations hold their form. The exact hook size should still be chosen based on your yarn, tension, and desired fabric density. Looser tension makes the fabric too stretchy, and the gaps you create can close up or shift as the piece is handled.
Q: What are the most common mistakes when creating negative space?
Overstuffing is the primary mistake that flattens negative space. Attaching limbs too close together is second. A neck transition that doesn’t create enough change in circumference is another common reason the neck definition disappears. All three mistakes stem from wanting the toy to look full and secure, but they can create a blob-like appearance instead.
Q: How do I fix it if negative space doesn’t show in the finished piece?
Remove some stuffing from joint areas and necks first. If that doesn’t help, the spacing or decreases may not have been sufficient during construction. You can add definition by working a round of surface slip stitches around joint areas to create a visible line, or by reattaching limbs with more space between them and the body.
📅 Last reviewed: August 2026 · This article is reviewed every 12 months.
Summary
Negative space is one design tool for giving amigurumi clearer separation between limbs, joints, body sections, and facial features. Deliberate spacing, changes in circumference, and controlled stuffing can all contribute to a more defined silhouette. The final effect depends on the pattern, yarn construction, shaping, and stuffing. Once you understand that negative space is a deliberate design choice rather than an accidental gap, controlling it becomes straightforward.

