


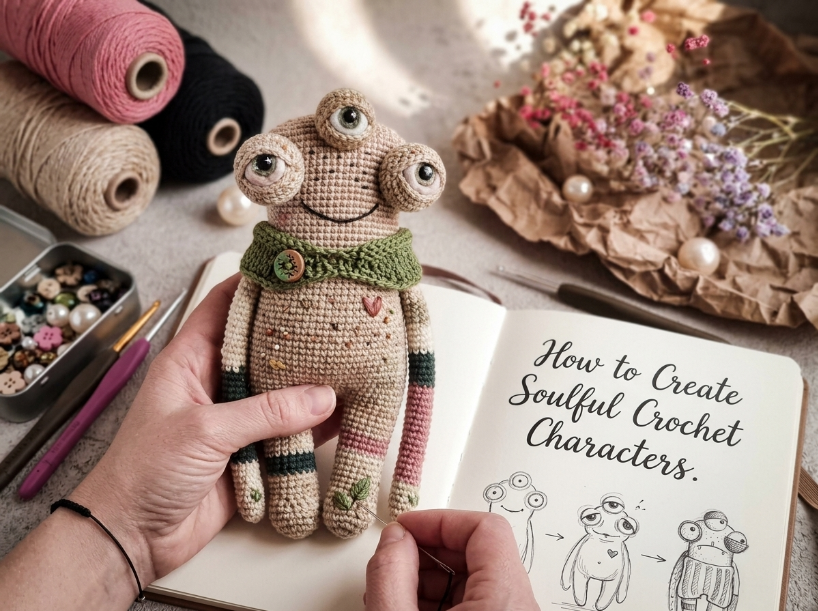
Slight asymmetries can make handmade characters feel more individual, while perfectly mirrored features can create a cleaner, more manufactured appearance. The effect depends heavily on the character’s design and the type of asymmetry used. The difference between a character that feels expressive and one that looks like a factory sample usually comes down to controlled imperfection.
The Short Answer
For this article, “symmetry fatigue” refers to the visual effect that can occur when every expressive feature is perfectly mirrored, making a character feel overly uniform. Breaking symmetry intentionally through slight variations in limb angle, eye placement, or facial features creates personality. The key is controlling which elements you vary while remembering that asymmetry is fine when designed intentionally, though accidental asymmetry in load-bearing areas can affect stability.
Main Steps and Techniques
Many amigurumi patterns specify stitch counts or marked attachment points so limbs can be positioned consistently. That approach works beautifully when the goal is uniformity across multiple identical pieces. In contrast, a single handmade character gains personality when one arm sits slightly higher than the other, or when eyes are positioned just off-center enough to create expression without looking accidental.
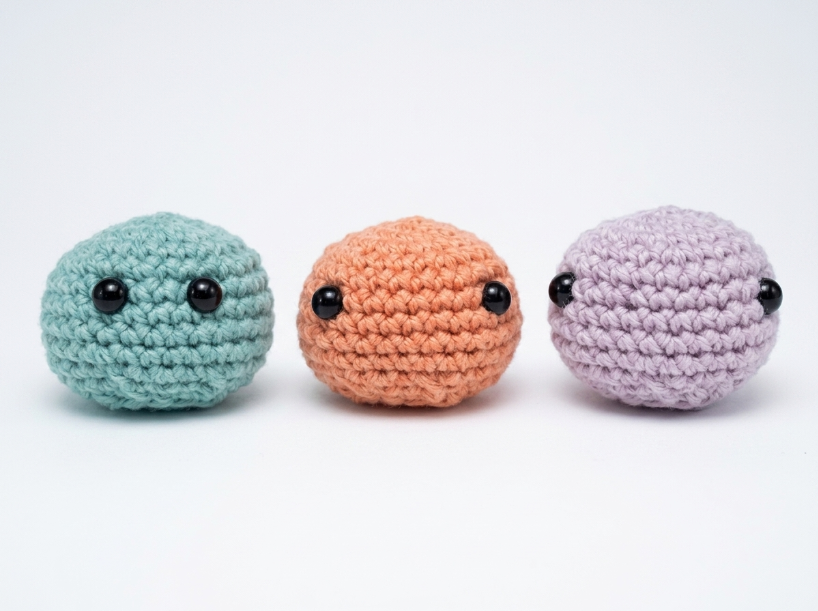
Small differences in eye height, spacing, or angle can change the expression dramatically, particularly in simplified amigurumi faces where there are only a few features. Shifting one eye by a stitch or one round can create a noticeable change in expression, particularly on small or medium-sized amigurumi. The catch is that too much variation reads as a mistake rather than intention, so the asymmetry must be subtle enough to feel deliberate.
Start by attaching limbs at the same horizontal round on opposite sides of the body to maintain structural balance. Then, adjust the angle at which each limb extends by changing how many stitches forward or backward you sew through on the torso. One arm angled slightly forward and the other slightly back creates a sense of motion.
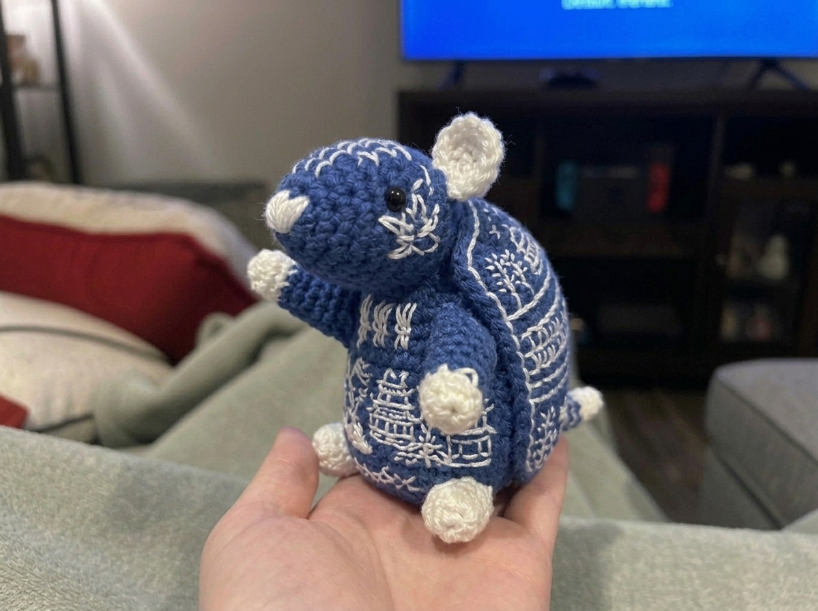
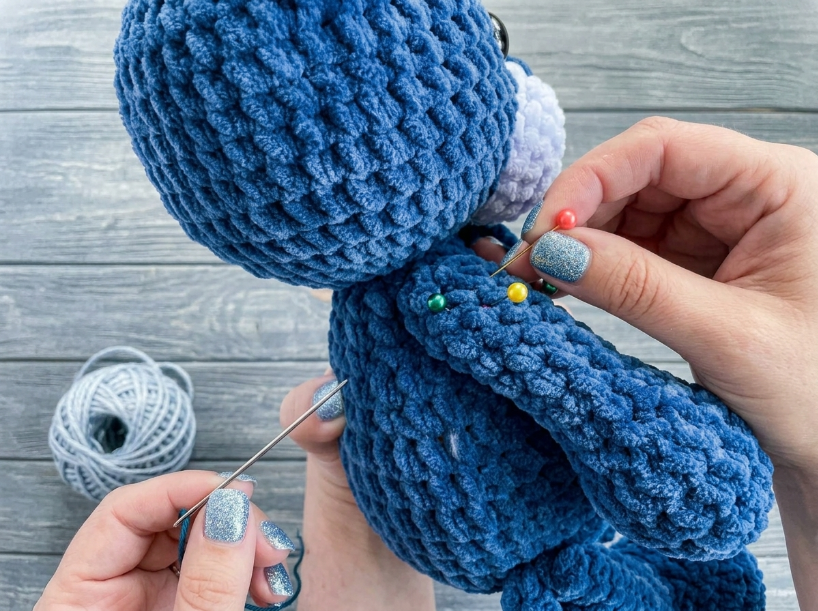
Results vary significantly with stuffing firmness and how tightly you sew the limbs to the body. Loose attachment allows limbs to rotate and shift position after the character is handled, which can either add to the handmade charm or make the piece look sloppy over time. Pin limbs temporarily and check front, side, and three-quarter views before final stitching.
| Step | What to do | Watch out for |
|---|---|---|
| Position safety eyes | Temporarily mark or position the eye placement before installing the safety-eye washers so you can adjust the expression. | Eyes placed too far apart read as startled, while eyes too close read as angry. |
| Attach first limb | Sew the first arm or leg at the planned horizontal round, angling it slightly forward or back. | Overstuffed limbs resist angling and will stick straight out. |
| Attach opposite limb | Attach the second limb at the same round but adjust the angle to mirror or contrast the first. | Identical angles create stiffness. Opposite angles suggest motion. |
| Evaluate from all sides | Pin limbs temporarily and check front, side, and three-quarter views before final stitching. | What looks balanced from the front may look skewed from the side. |
Comparison and Options
Intentional asymmetry works best when applied to expressive elements like eyes, ears, and limb angles. Varying the body proportions themselves usually makes the character look unfinished rather than characterful. The technical reason is that structural asymmetry in the torso or legs disrupts balance and can make the piece tip over, while expressive asymmetry adds personality without affecting stability.
Characters meant to look mischievous or quirky benefit from more exaggerated asymmetry. A monster with one large eye and one small eye reads as intentional design. A bunny with one ear flopped over and one standing upright suggests personality. On a more realistic design, the same degree of asymmetry may be more noticeable and can be perceived as unintended. The decision depends on whether the character design supports obvious stylization or requires subtlety.
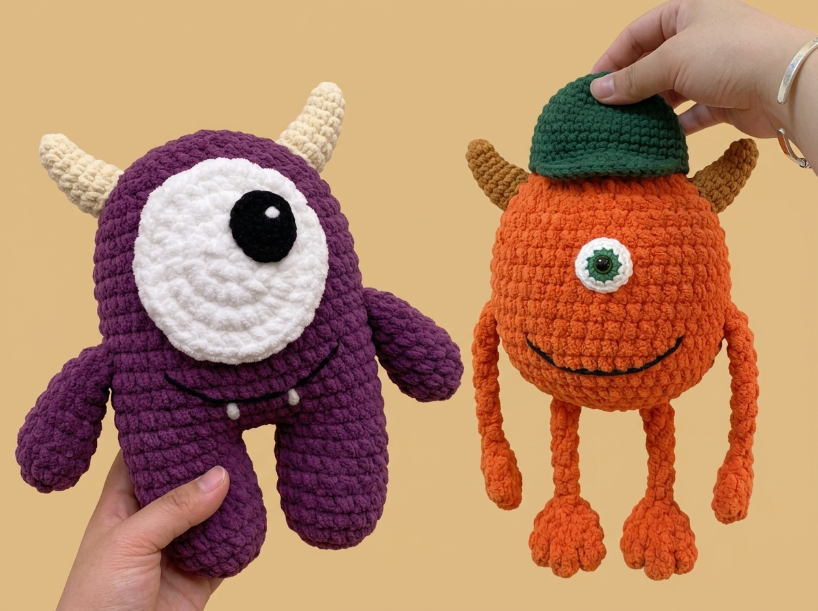
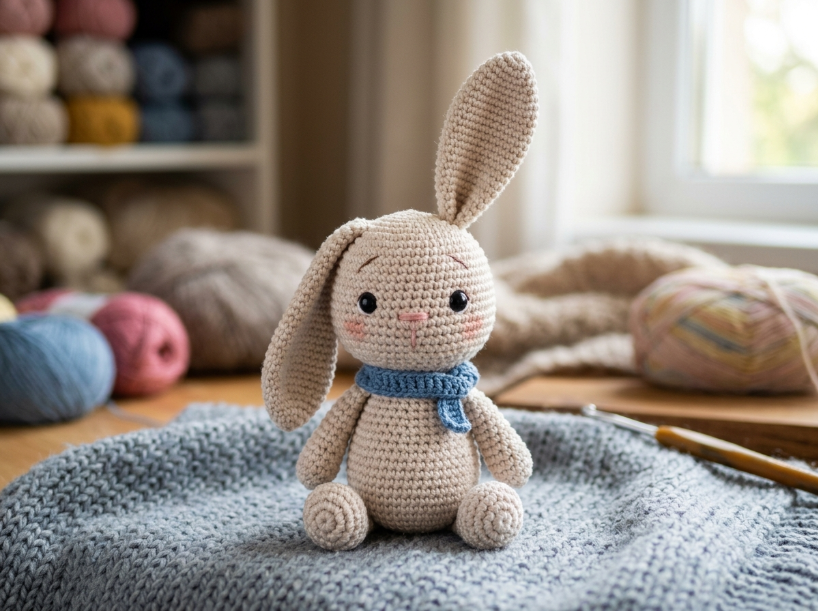
Many crocheters attach limbs by counting exact stitch positions on both sides of the body to guarantee mirror symmetry. This approach is correct when making multiple identical characters for a set. In practice, single characters meant to feel handmade gain more appeal when limb angles differ slightly. If durability matters more than personality, Amigurumi Durability Test: Why Crochet Toys Sag & How to Fix It explains how tight stitching and firm stuffing prevent limbs from drooping, which provides the structural foundation that allows asymmetry to read as intentional.
Changing the attachment points and how the limb is secured can alter its resting angle. The exact effect depends on the limb’s shape and construction, so test the position before sewing permanently. This method keeps structural symmetry while creating visual variety.
Common Mistakes
The most common mistake is applying asymmetry to too many elements at once, which makes the piece look careless. Varying eye placement, ear height, limb angle, and head tilt simultaneously overwhelms the design. For a subtle handmade effect, start by varying only one or two features and keep the rest consistent.
Another frequent issue is making asymmetries too subtle. A very small adjustment may be difficult to see and can look accidental rather than deliberate. Commit to the variation enough that it reads clearly. Make the variation large enough to remain visible at the finished character’s scale.
The opposite problem happens when asymmetry is exaggerated without a clear stylistic reason. A realistic bear with one arm twice as long as the other looks broken. The variation must match the character’s intended style. Cartoonish designs support more obvious asymmetry, while realistic designs require restraint.
Crocheters also often assume that asymmetry must involve different stitch counts for each side. That approach adds unnecessary complexity. Attaching both limbs identically but rotating one forward and one back creates asymmetry without changing the actual crochet work. The difference is in how the finished piece is assembled, not how it is stitched.
Troubleshooting
| Mistake | Why it happens | Fix |
|---|---|---|
| Character tips over | Asymmetric leg placement shifts the support base or center of mass. | Adjust leg placement, stance, or stuffing distribution until the character balances. |
| Asymmetry looks accidental | Only one subtle variation with no reinforcing design choices. | Add a second intentional asymmetry (e.g., tilt head if one ear is higher) to look deliberate. |
| Limbs won’t stay angled | Body is overstuffed and fabric has no give. | Avoid overstuffing the area around the attachment point, use enough stuffing to maintain shape while allowing the fabric to compress slightly when positioning the limb. |
| Unintended sad expression | Eyes positioned at different heights without test-fitting. | Temporarily mark or position the eye placement before installing washers to check expression. |
Questions You Might Still Have
Q: What is the easiest way to add personality to amigurumi characters for a beginner?
Start with eye placement. Shifting one safety eye off-center or one round higher than the other creates immediate expression without requiring advanced construction skills. Temporarily mark or position the eye placement before installing the safety-eye washers so you can adjust the expression. This method can work with many amigurumi patterns without changing the stitch counts.
Q: How long does it take to add intentional asymmetry to an amigurumi project?
The asymmetry itself adds almost no time if applied during normal assembly. Positioning eyes takes the same amount of time whether they are symmetrical or not, and angling limbs during attachment does not require extra stitching. The additional time usually comes from test-fitting and checking the character from multiple angles before permanently attaching the pieces.
Q: What hook size and yarn weight do I need for asymmetric amigurumi characters?
Asymmetry is an assembly technique, not a construction method. It can be used across a wide range of yarn weights and hook sizes, provided the resulting fabric is appropriate for the design. Most amigurumi uses a hook slightly smaller than the yarn label recommends to achieve dense fabric. The hook size does not change whether the character is symmetrical or asymmetric, though firmer stuffing makes it harder to angle limbs during attachment.
Q: What are the most common mistakes when adding asymmetry to amigurumi?
The biggest mistake is varying too many elements at once, which makes the piece look sloppy rather than uniquely handmade. For a subtle handmade effect, start by varying only one or two features (such as one ear flopped down and a slight head tilt) and keep the rest of the character structurally balanced.
📅 Last reviewed: August 2026 · This article is reviewed every 12 months.

