


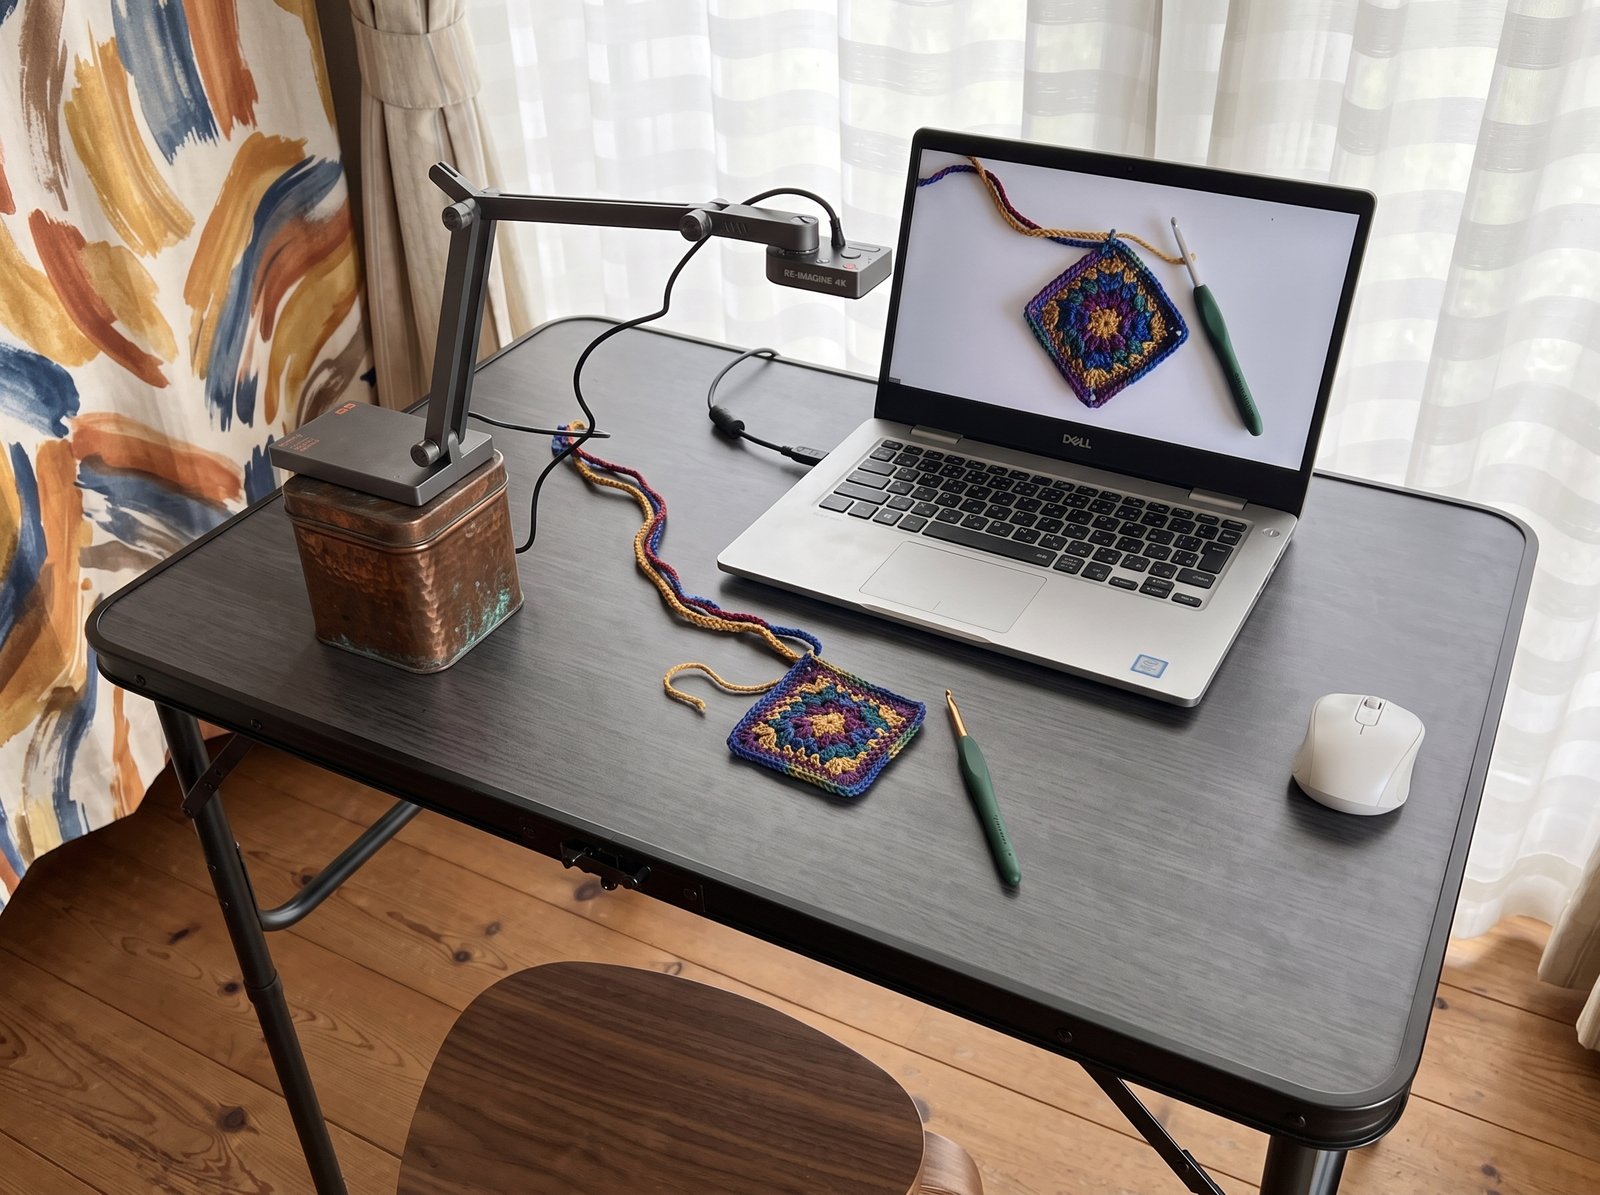
Your stitches look perfect in person, but the moment you hit record, everything flattens out. It’s a common frustration with a simple explanation: cameras capture a 2D image, and lighting, perspective, focus, resolution, and motion all affect how texture translates to the screen.
The Short Answer
Film with your camera at roughly a 45-degree angle to the work surface rather than directly overhead. This angle can show more stitch height and depth while keeping the project visible. Pair this with an adjustable desk lamp positioned to the side of the camera to create directional lighting that can help reveal texture.
Step-by-Step Setup
A straight-down camera position works well when documenting a pattern or demonstrating work from directly above, but it can be less visually dimensional for short-form content. Overhead shots view the fabric from above, which can make the height and depth of tall stitches, such as double crochets, less visually obvious.
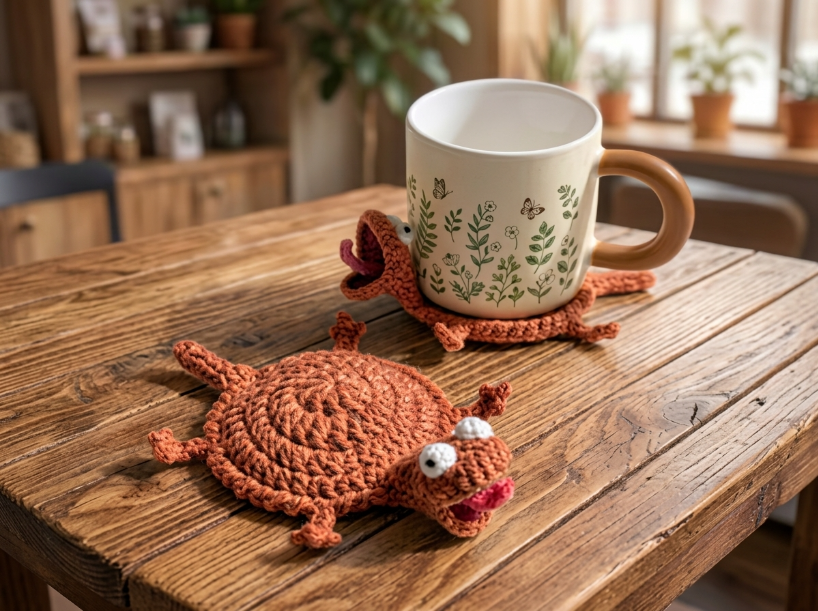
A roughly 45-degree angle can help because it captures more of the side profile of each stitch while keeping your hands and project in the frame. Position your phone or camera on a small tripod (or stack of books) at the edge of your workspace, angled down toward the center. This setup can work in spaces as small as a corner desk because you’re filming a tight frame, not a wide room.
However, the angle alone won’t fix poor lighting. Natural window light can be soft, but its intensity and color can change throughout the day, which can contribute to differences between clips. For repeatable results, use a single adjustable LED desk lamp. Place it to the side of your workspace rather than directly behind the camera so the light falls across the fabric at an angle. This can create highlights and shadows that make stitch texture more visible on screen.
Quick Setup Checklist
| Step | What to do | Watch out for |
|---|---|---|
| Set camera angle | Position camera at roughly 45 degrees to the work surface. | Overhead angles can make stitch height and depth less noticeable. |
| Choose light source | Use a single adjustable lamp to the side of the camera, or consistent window light. | Multiple light sources can change or reduce the shadows that reveal texture. |
| Frame the shot | Keep hands and active stitches in a clear, visually prominent area of the frame. | Too much empty space can dilute visual focus. |
| Test stitch visibility | Record 5 seconds of double crochet and check if loops are distinct. | If stitches blur together, adjust the light position or camera angle and re-test. |
What’s the Best Format for Cinematic Crochet?
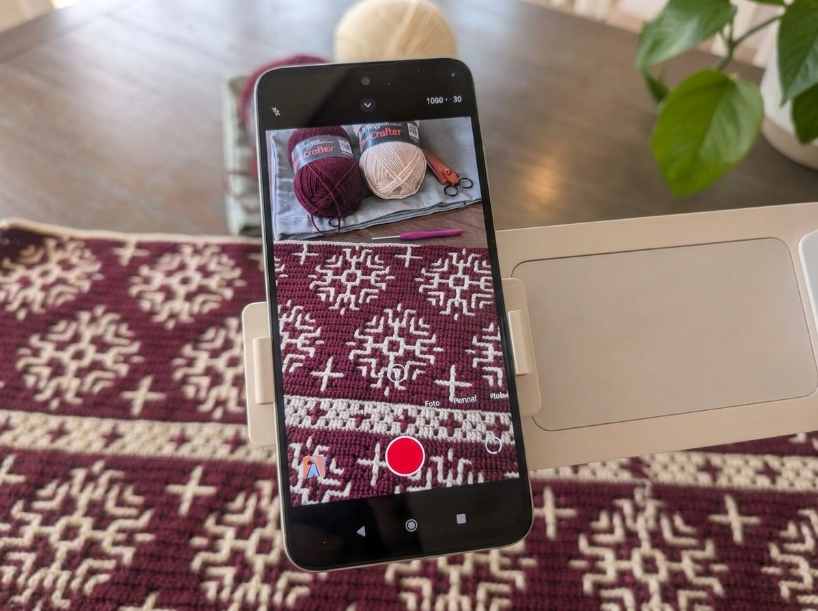
Landscape and vertical video are both useful depending on where you plan to publish. For TikTok, Instagram Reels, and YouTube Shorts, vertical video generally fits the full-screen format better, while landscape is useful for traditional YouTube videos and wide project views. A landscape video displayed in a vertical format may be scaled down or cropped, which can leave less screen space for your stitches.
Vertical framing can also make it easier to keep your hands and the work prominently in frame while shooting for vertical platforms. The taller frame can accommodate the up-and-down movement of your hands without requiring as much horizontal space. The trade-off is that vertical video limits how much of a large project, like a blanket or shawl, you can show at once.
The Role of Yarn Choice
Yarn choice can affect on-camera clarity. Solid colors with strong contrast against your background can make stitches easier to distinguish. For example, a dark navy project on a light wood surface gives the camera clear edges to capture.
Variegated or self-striping yarns may look stunning in person, but on a phone screen, changing colors can compete with stitch definition, making the texture harder to distinguish. This doesn’t mean variegated yarn is off-limits; it just means you may need stronger lighting or a tighter frame to make the stitches easier to see.
Common Mistakes Beginners Make
Some beginners position their light source directly behind the camera, assuming it will brighten the work evenly. While it does brighten the workspace, front lighting can reduce some of the shadows that help reveal stitch depth. Move the light to the side so it hits the work at an angle.
Another frequent mistake is working at your normal speed. Fast hand movements can become blurry in a short clip, particularly when the camera uses a slower shutter speed or the lighting is poor. Slow your hands down slightly for the 3-4 stitches that will actually be in the final cut.
Finally, watch your background. Your brain naturally filters out the laundry basket in the corner, but the camera captures everything. A cluttered background can pull the viewer’s eye away from your hands. Film against a blank wall, use a poster board backdrop, or use your camera’s shallow depth-of-field settings, when available and appropriate, to blur out distractions.
Troubleshooting Guide
| Mistake | Why it happens | The Fix |
|---|---|---|
| Flat, textureless footage | Light is too frontal or diffuse. | Try moving the light to the side to create more directional shadows. |
| Blurry hand motion | Hand movements are too fast for the camera settings. | Slow your hands down during the stitches you are recording. |
| Distracting background | The workspace contains distracting elements. | Film against a blank backdrop or use an appropriate shallow depth of field. |
| Inconsistent colors | Auto white balance adjusts to changing window light. | Use a consistent artificial light source and lock white balance if available. |
Frequently Asked Questions
Q: What is the easiest way to film crochet for a beginner?
Start with a single 5-10 second clip of your hands working three stitches, filmed at a 45-degree angle with one desk lamp. Don’t worry about editing or transitions yet. The goal is to see how your stitches read on camera. Filming an entire project in one take can make it harder to isolate what is working and what isn’t.
Q: How long does filming take from start to finish?
The setup time for a single 15-second clip can range from less than a minute to several minutes, especially when you’re still adjusting your setup. This can include adjusting angles, positioning lights, and doing 2-3 takes to get clean hand motions.
Q: What hook size and yarn weight look best on camera?
Worsted-weight yarn (category 4) can be a practical choice for filming because the stitches are generally large enough to see clearly on a phone screen. Thinner yarns, such as fingering or sport weight, may require a closer camera position to show individual stitches clearly. Bulky yarn (category 5) or super bulky yarn (category 6) can make stitches easier to see on camera, but larger yarn can also limit how much of a project fits in the frame. The Craft Yarn Council classifies category 5 as Bulky and category 6 as Super Bulky.
Q: How do I stop my camera from going in and out of focus?
Autofocus “hunting” happens when the camera repeatedly changes focus because it has difficulty maintaining the intended subject. Many phone camera apps provide a way to lock focus, often by tapping and holding on the screen where your hands are positioned. If you lock focus, try to keep your hands at a similar distance from the lens; moving them significantly closer or farther away can cause them to become less sharp.
Q: Is there a faster filming method?
Batch filming can be efficient. Work through 10-15 stitches, pause to film a 5-second clip, then continue crocheting off-camera and film another clip a few rows later. This approach can give you several usable clips while keeping the lighting and framing consistent.
📅 Last reviewed: August 2026
Summary: Filming crochet that looks textured and dimensional can be improved with an angled camera position, directional lighting, and controlled hand movements. Whether you are documenting a pattern overhead or shooting dynamic vertical videos for social media, understanding how your camera captures depth can help you adjust your setup for clearer, more dimensional footage.

